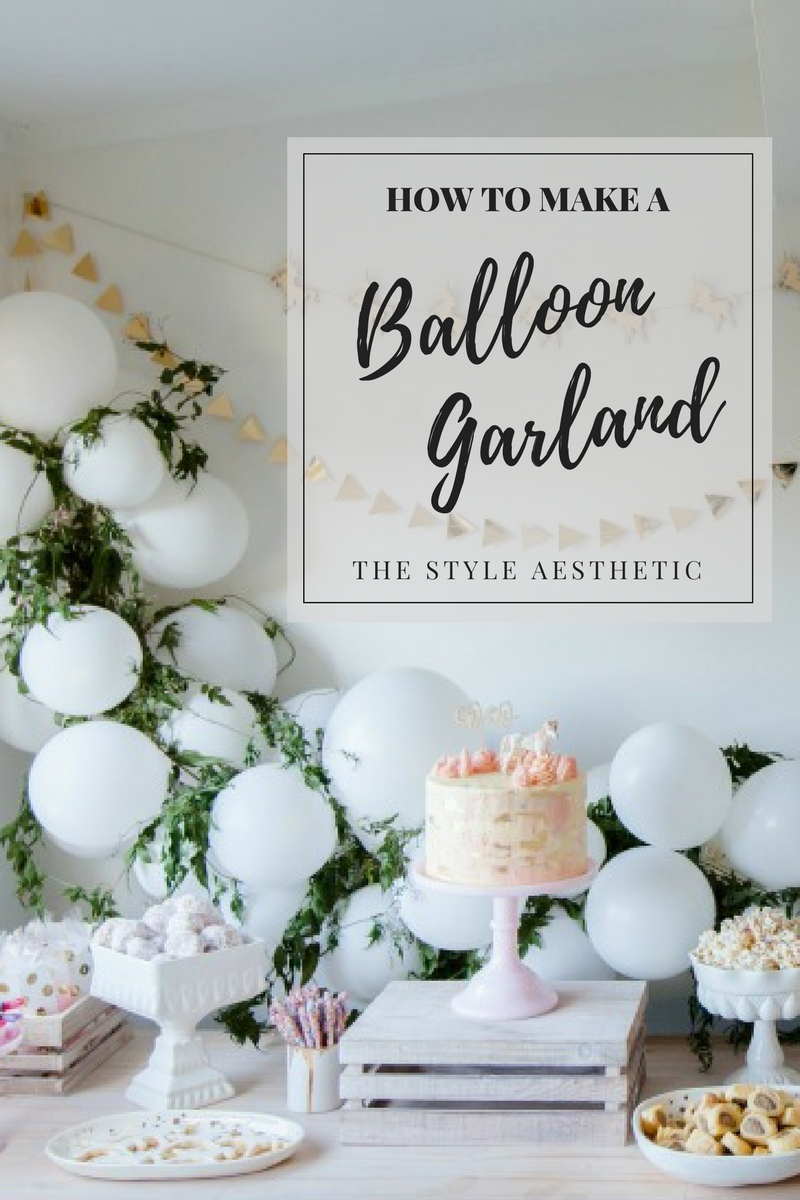
HOW TO MAKE A BALLOON GARLAND DIY
Well it’s just over two years ago since I created my first balloon garland for Coco’s Unicorn birthday party and it’s the most asked thing I’ve ever been messaged or emailed about. I’m finally sharing the steps on how I make a balloon garland!
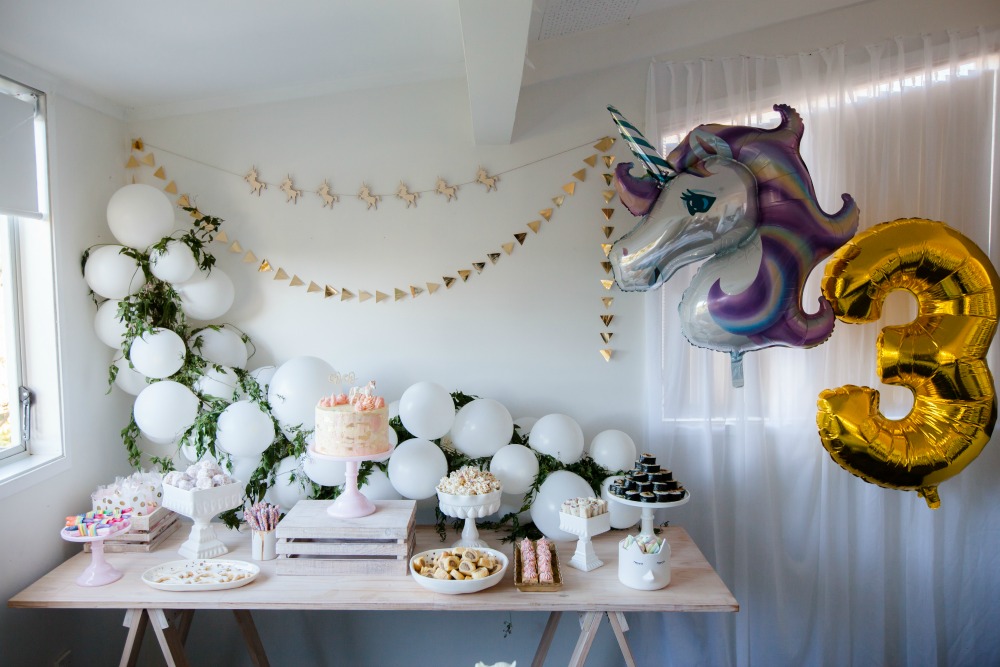
I have to admit it really made her Unicorn party, it pulled together all of the birthday party decorations beautifully.
Balloon garlands are pretty easy and affordable to make, you just need a bit of time and patience!
There are lots of tutorials online but I guarantee you this one works.

BALLOON GARLAND TOP TIPS
-I would recommend starting the balloon garland earlier in the week of the party. (the better quality the balloons, the further out you can make it!)
-Prep everything before the day of actually making it.
-Pour yourself a massive glass of wine and pop on your fave movie or podcast.
-Buy top quality latex balloons – I recommend Qualatex they last way longer and that way you can make the garland a couple of weeks in advance!
-Decide what look and colours you want to use and buy all the products before the week of making the garland.
-Decide on the length of the balloon garland and how you would like to hang it.
-If your hubby or someone you know has a compressor this is the fastest way to inflate a lot of balloons.
-You can buy a variety of sized balloons not just 30cm. I recommend 5 inch and 11inch this adds more depth and texture to the look of the balloon garland.
-The black rubbish bags are for storing the balloons, it keeps them clean and ready to use when you need them, as they attract fluff and dirt.
WHAT YOU NEED
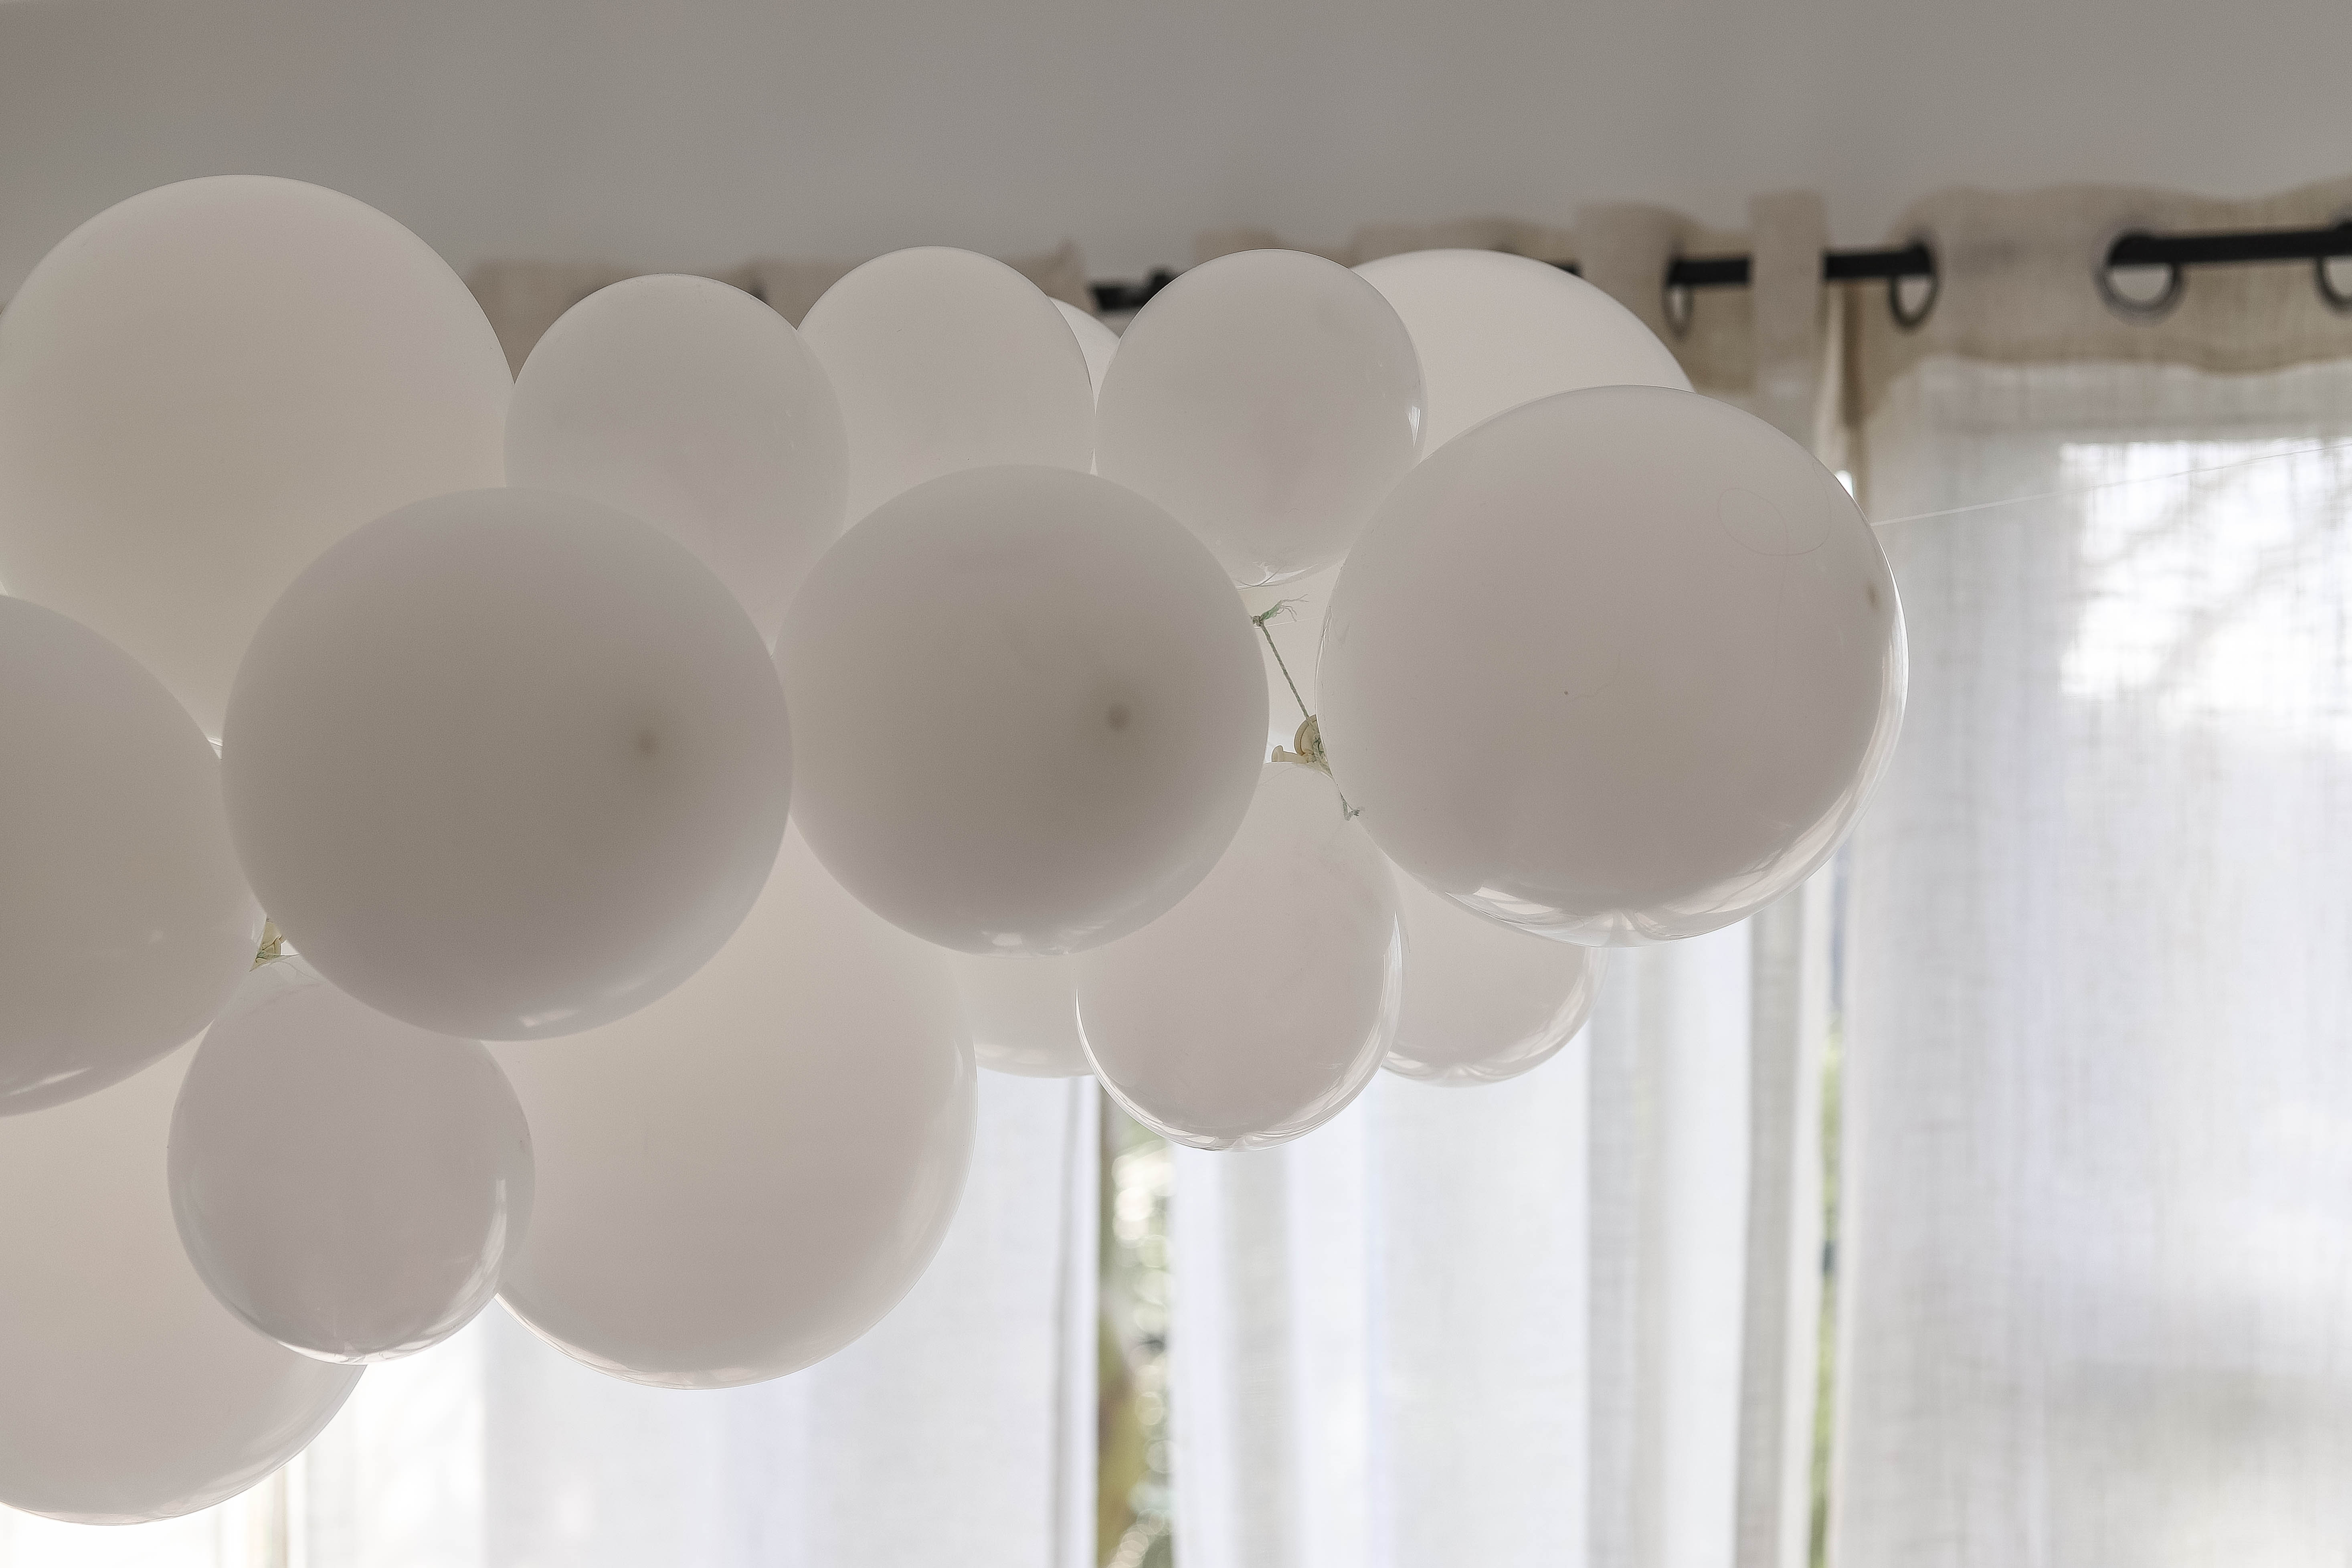
-Flexible wire ( I used Jobmate .9mm utility tie wire from mitre 10)
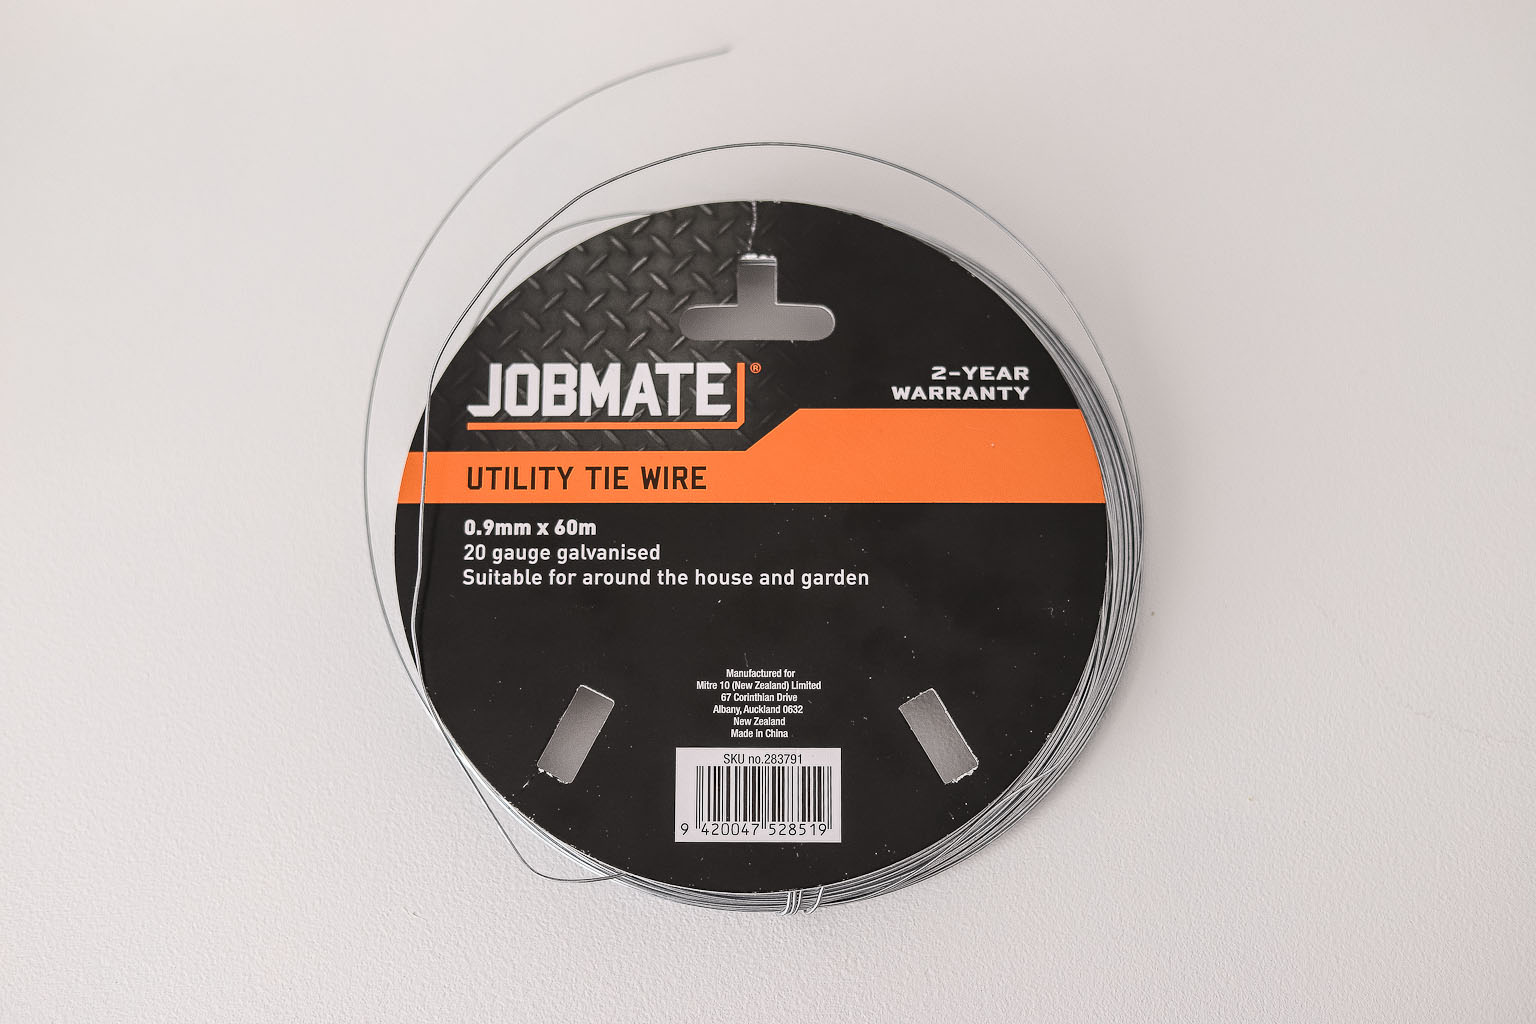
-String or bakers twine (I use white if Im using white or light balloons)
-Scissors
-30cm latex balloons Balloons or you can get an assorted of sizes (see tips)
-Large Black plastic rubbish bags (bigger the better)
-Balloon pump or compressor
-Wine and loads of it haha only if you feel like it!
-Greenery or florals if you want to incorporate it once the garland is up
-3M hooks to hang the garland

METHOD
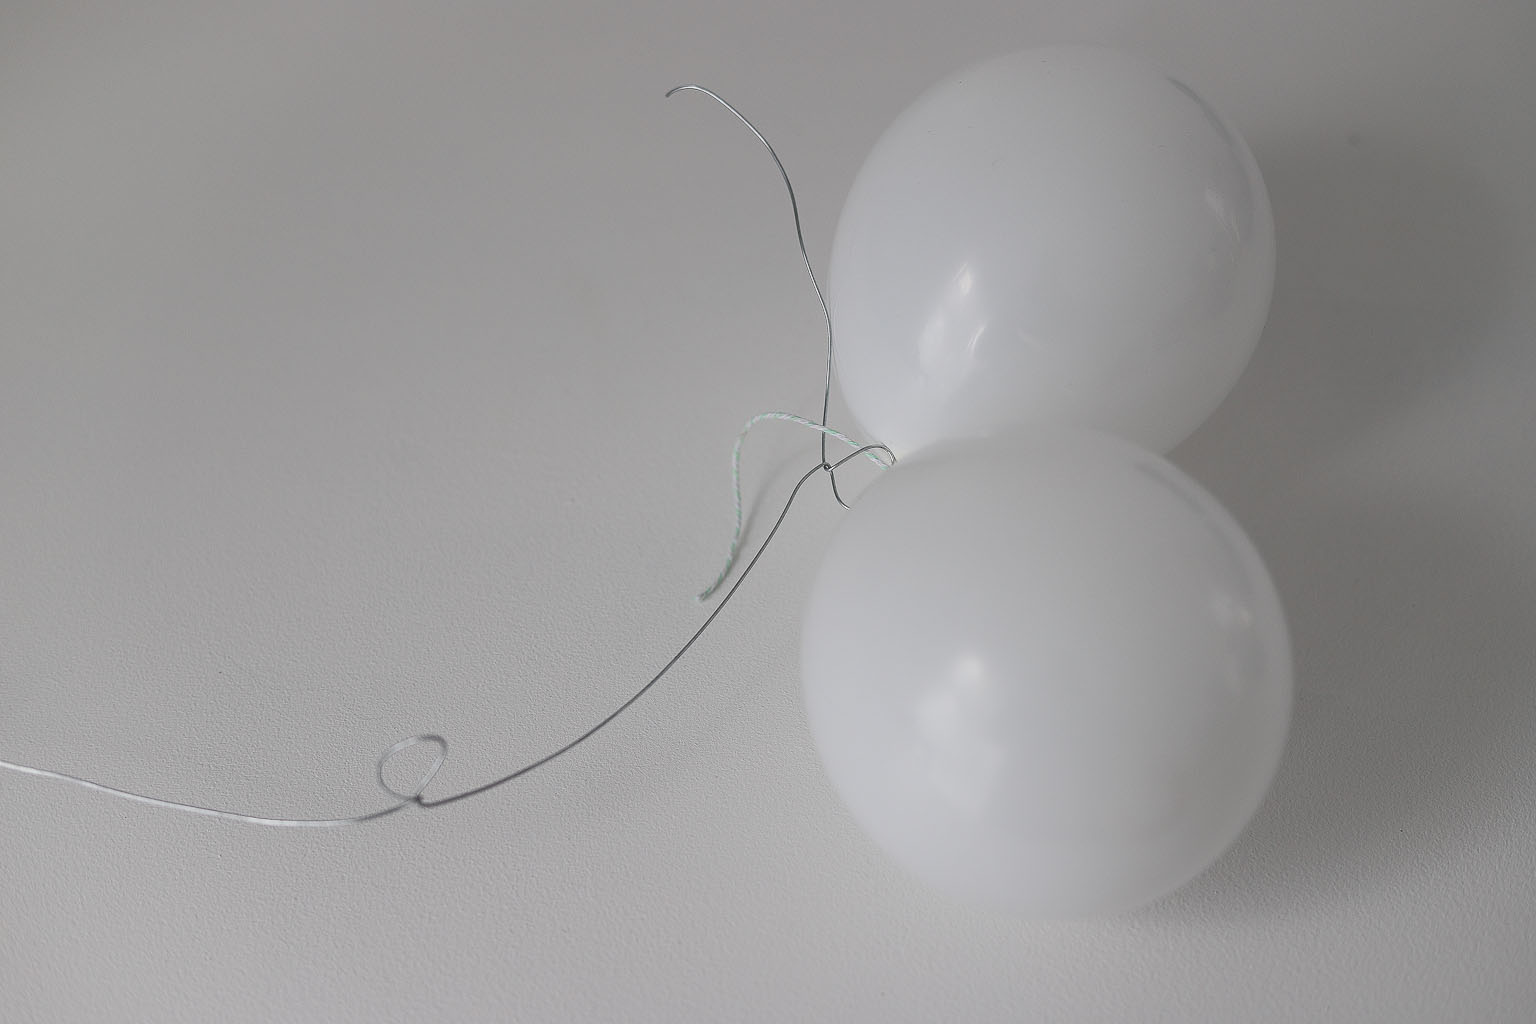
-I start with creating a loop in the wire at each end to hang on the wall (you will need a bit more space from the initial loop and the first loop for the balloons, around 20cm) and then wind loops into the wire around 10-12cm apart, it is really important to space them out as the balloons need the space!
-Cut string into 15cm length pieces (Depending on how many balloons you use you will one length of string for two-three balloons.
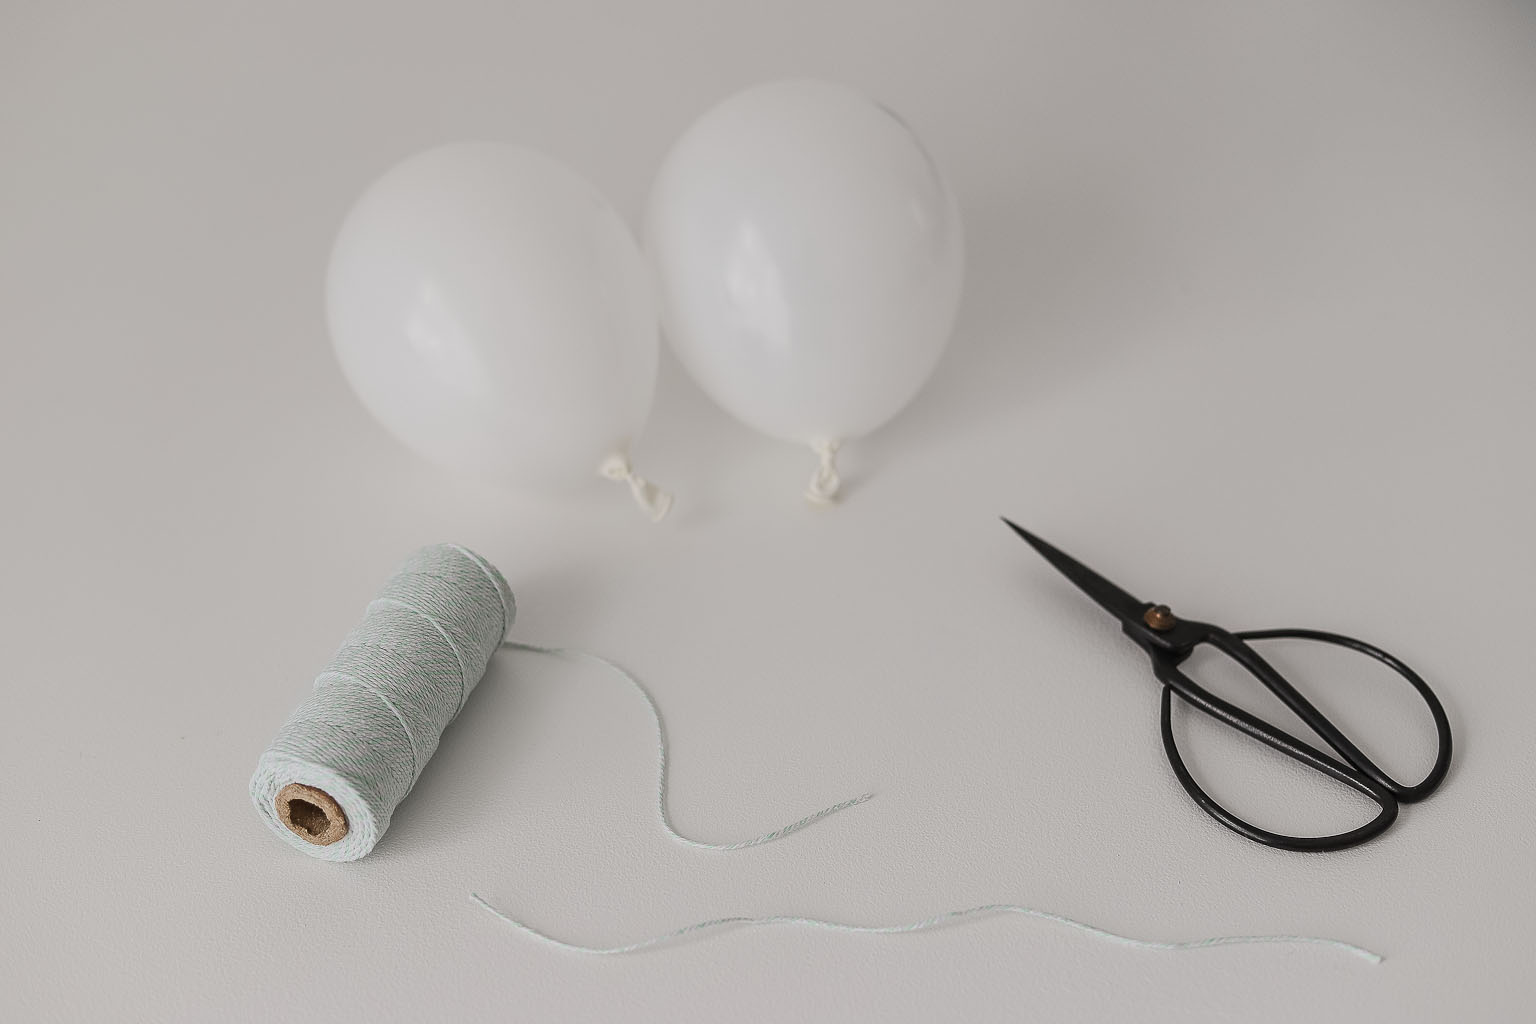
-Blow up the balloons in the various sizes you need and store them in the black rubbish bags, make sure they are pulled tight once knotted.
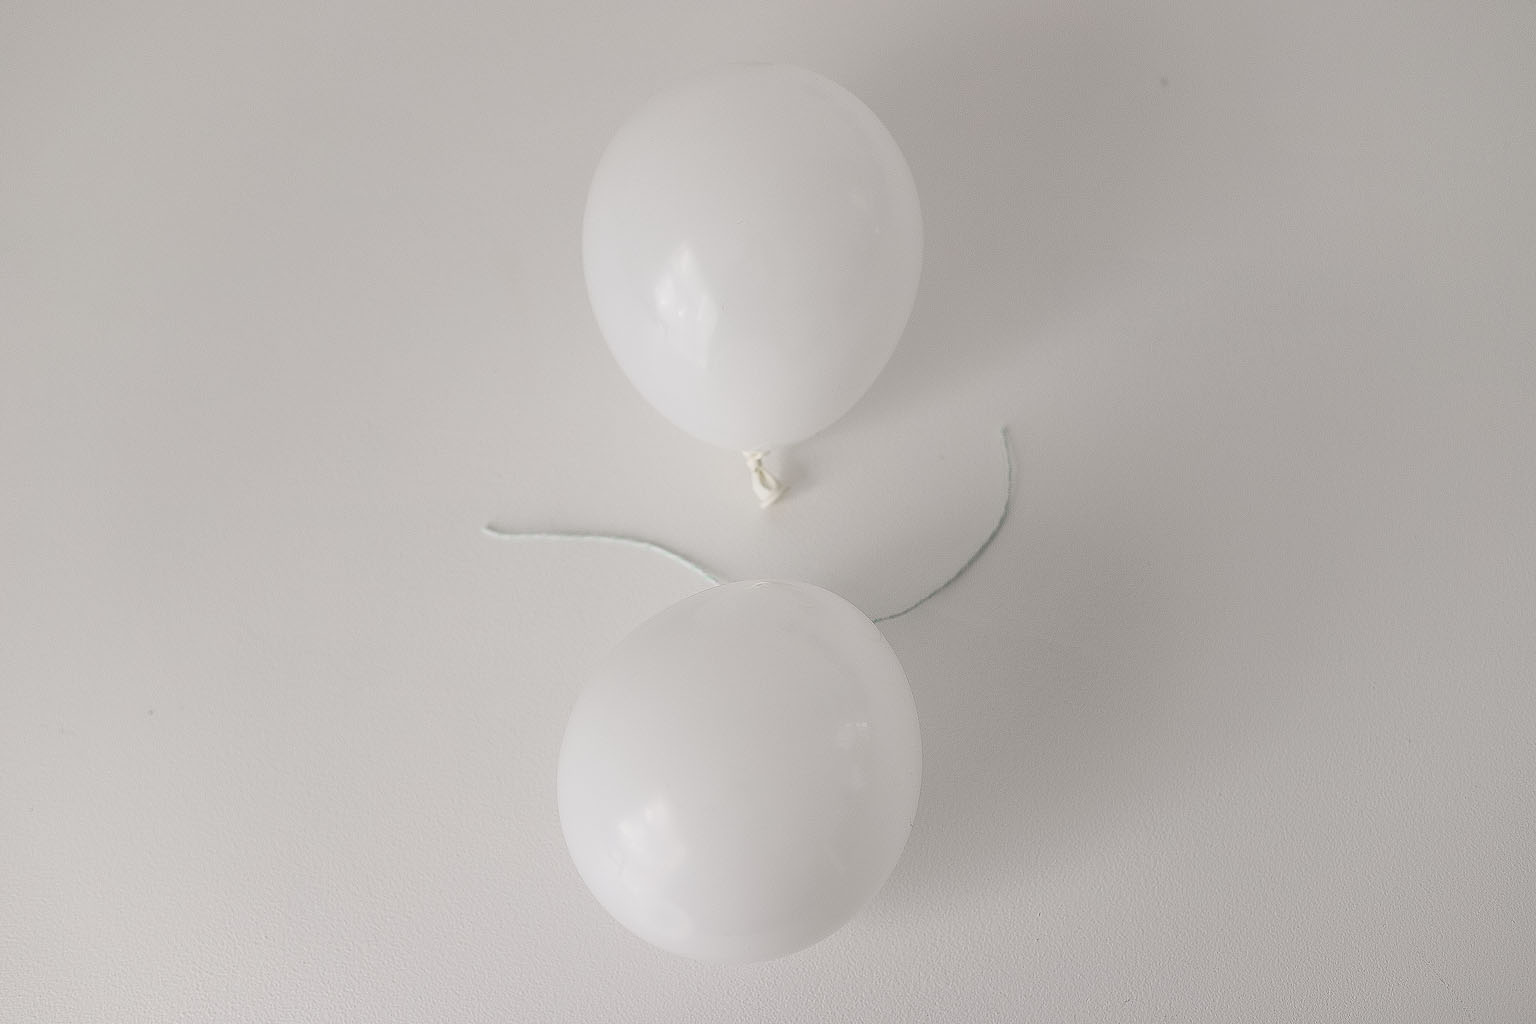
-Tie the string onto one balloon at the knot then with the same piece of string tie the other balloon to it (which saves time!) I actually like to tie three balloons to one piece of string – two bigger balloons to one small balloon.
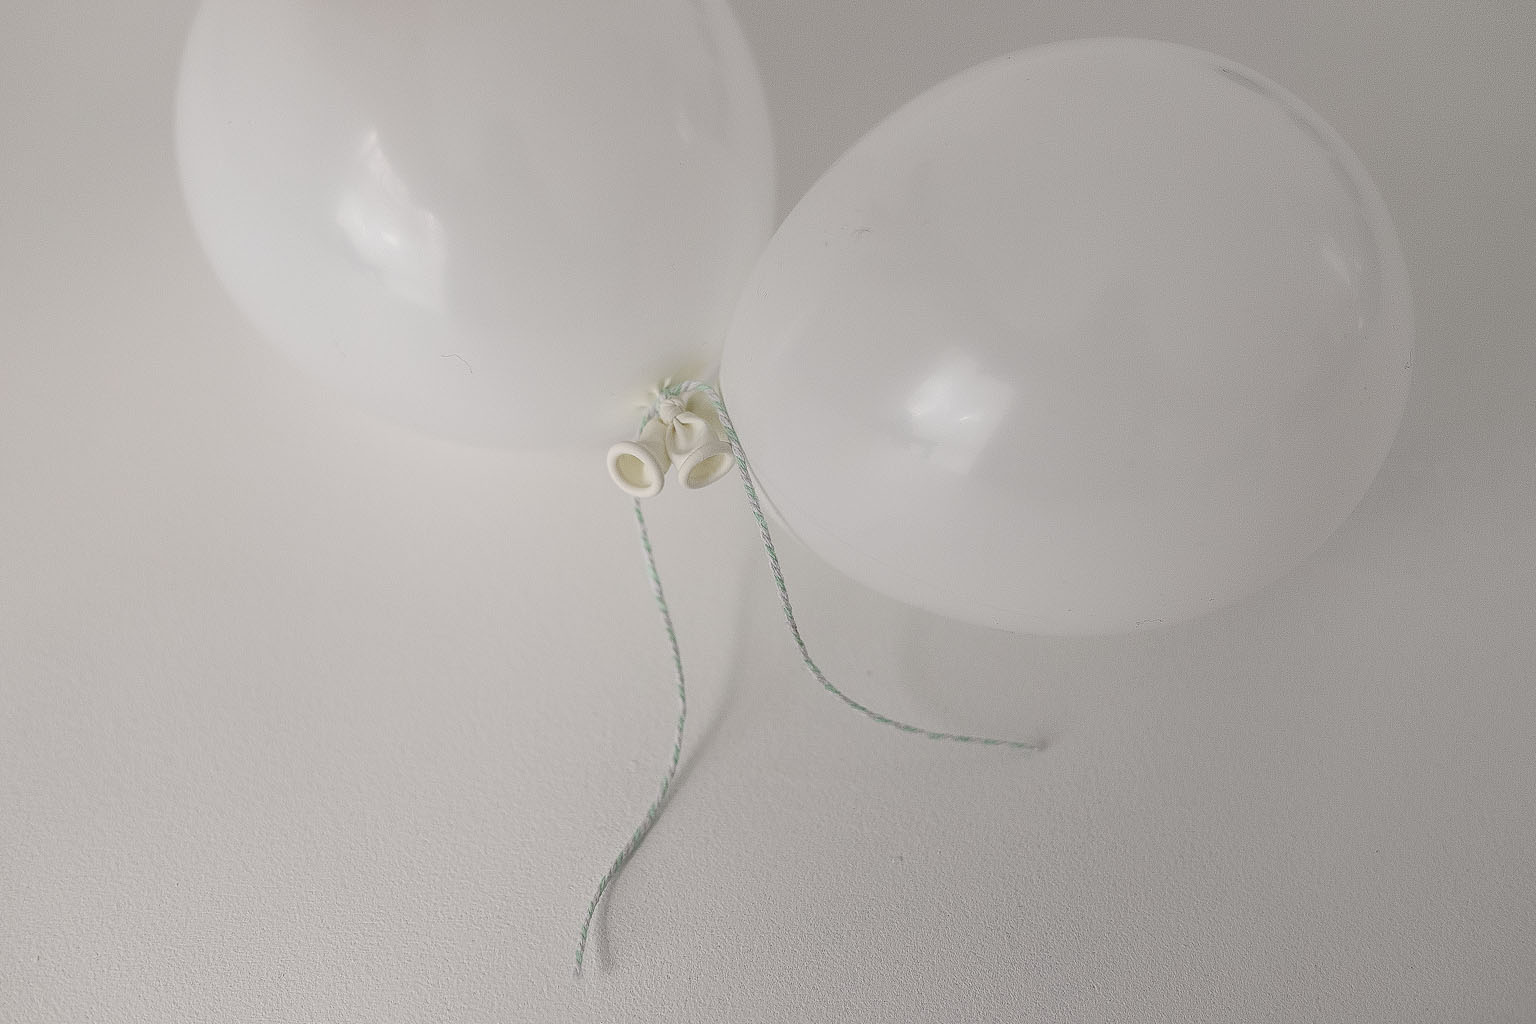
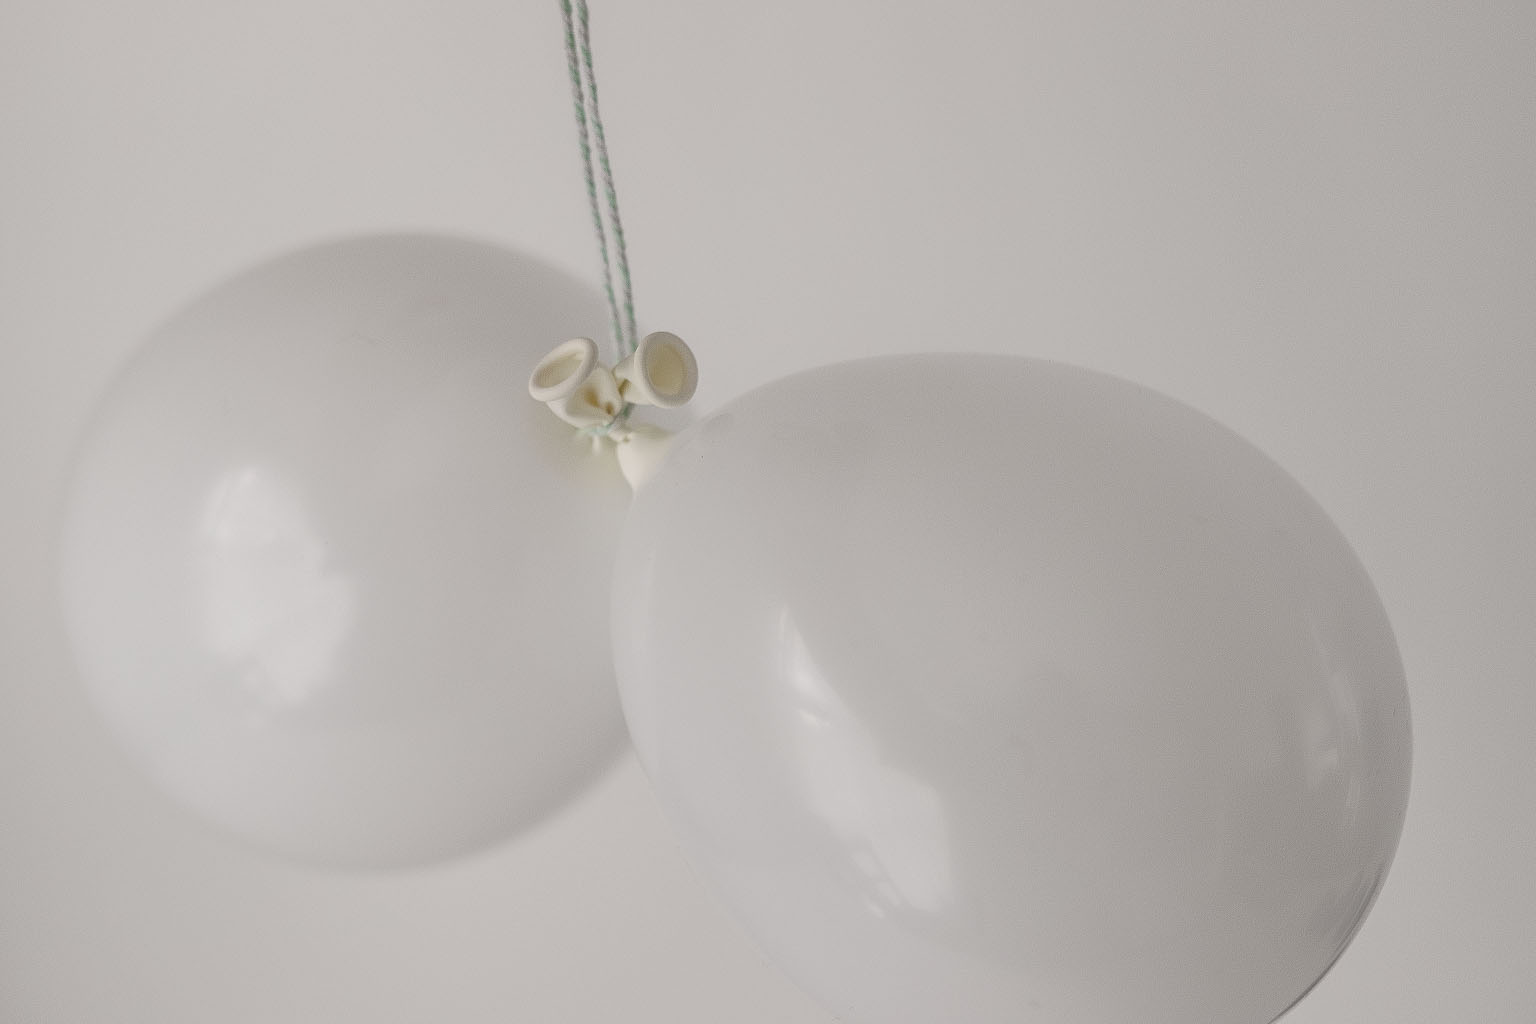
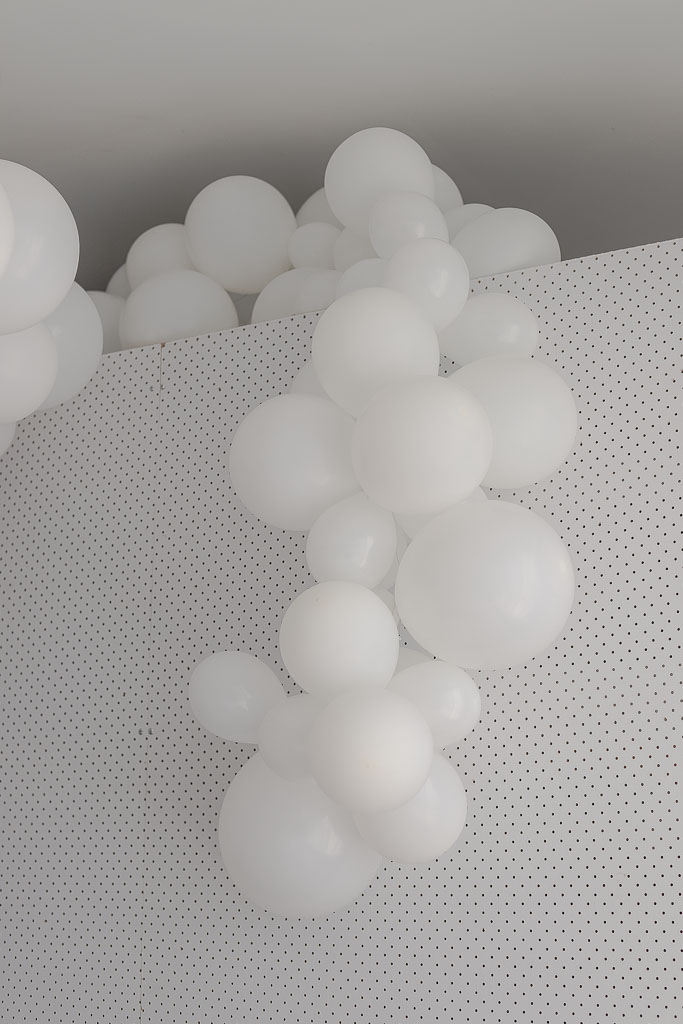
-Start tying the balloons onto the wire loops and keep going until you have filled the length of your desired garland, check t0 see how full the balloons are looking you may want to add more.
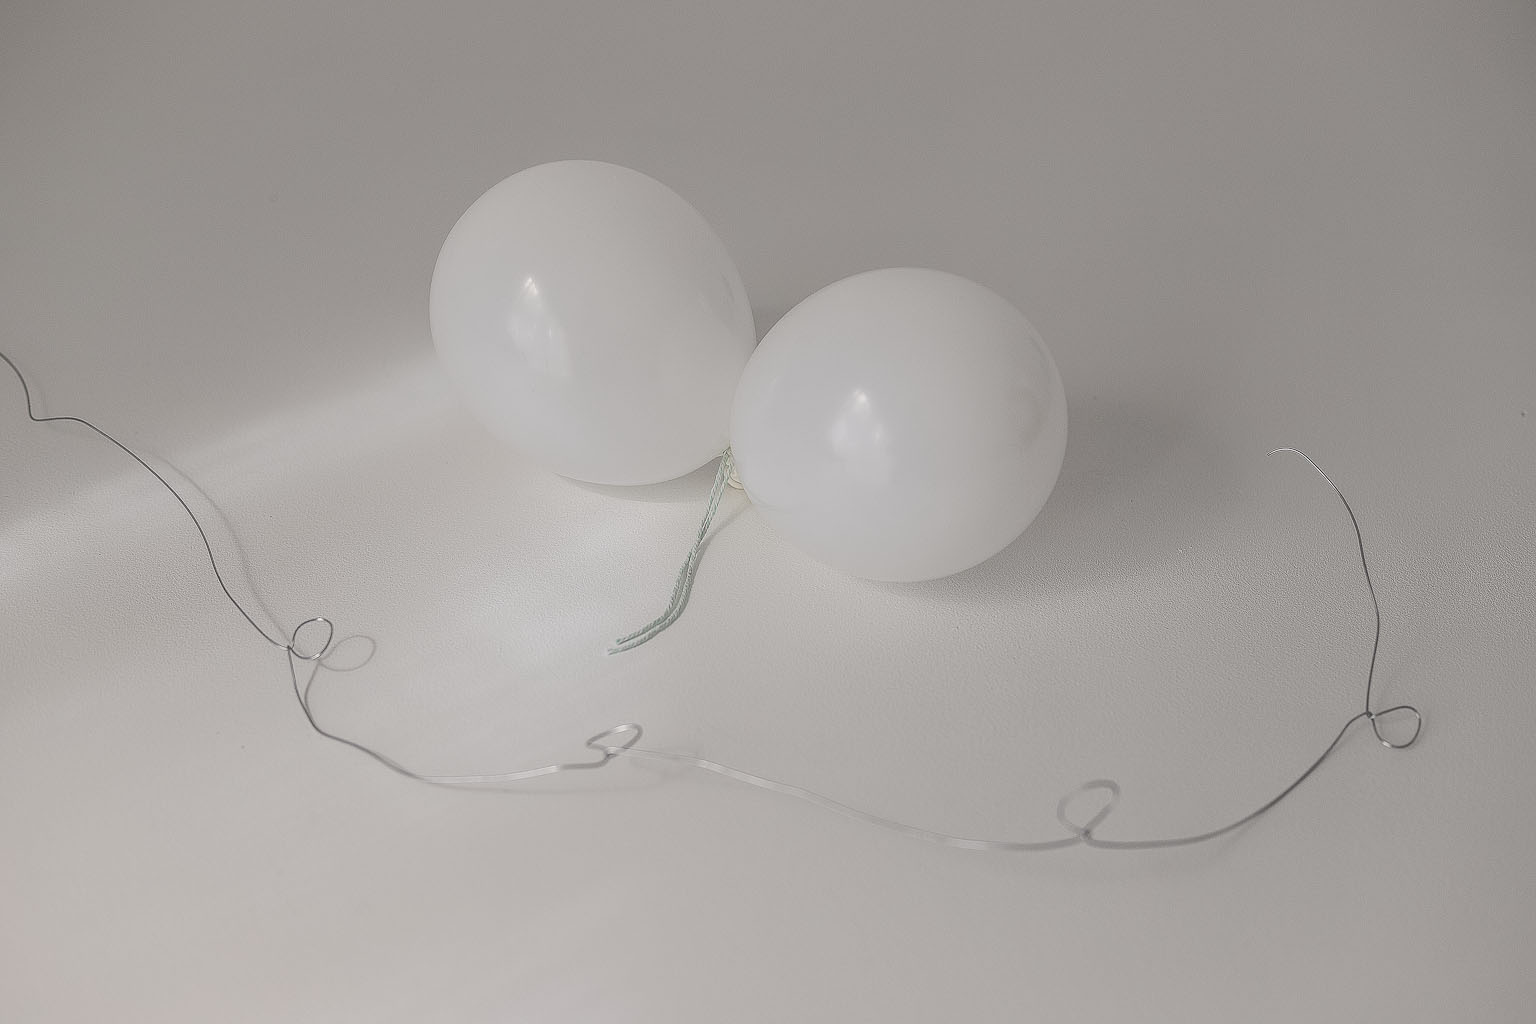
-Once you are happy with the balloon garland fullness, hang it up in place I would recommend doing a day or two before the party if you can. Otherwise wrap it in a sheet to keep the dust off it.
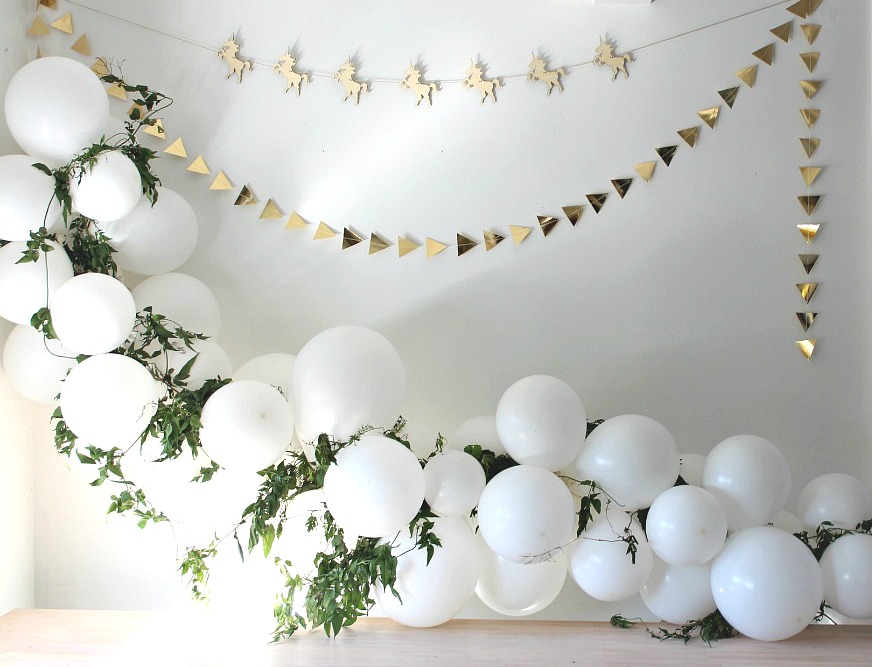
-If you are using fake foliage you can add this as soon as you hang the balloon garland otherwise add real foliage as close to the party as you can as it will wilt.
Happy creating!
If you would like me to create you your own balloon garland please get in touch!


Leave a Reply